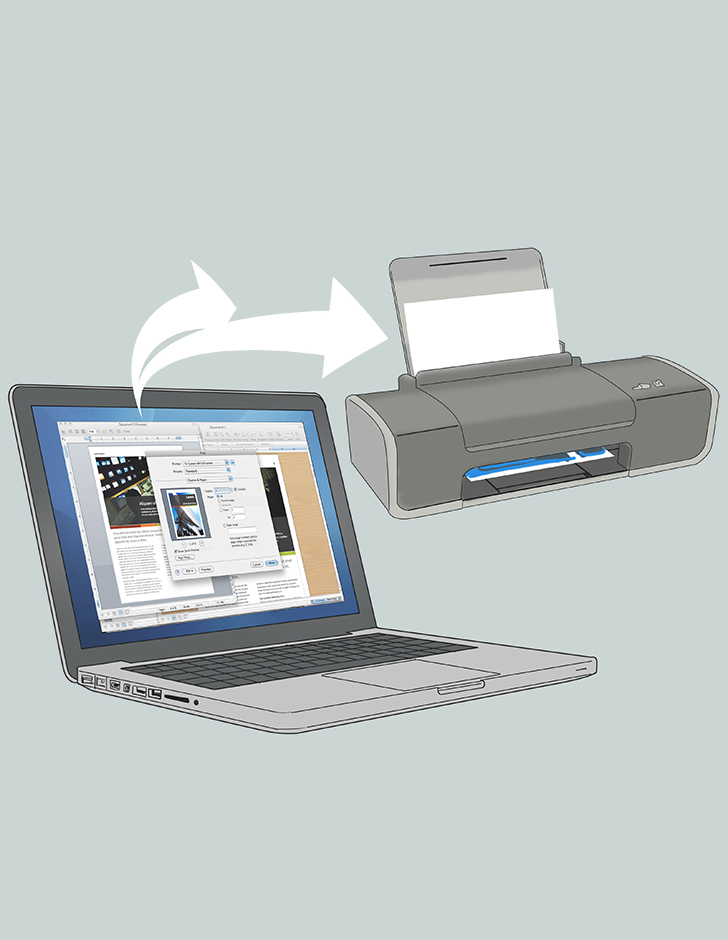
How to Connect a Printer to Your Computer From 123.hp.com
Connect a printer to your Windows or Mac computer; wired or wireless. You can share the printer on your home network once it’s connected, allowing other computers in your house to print from it even if they’re not physically connected.
Method 1 : Wired connection (Windows)
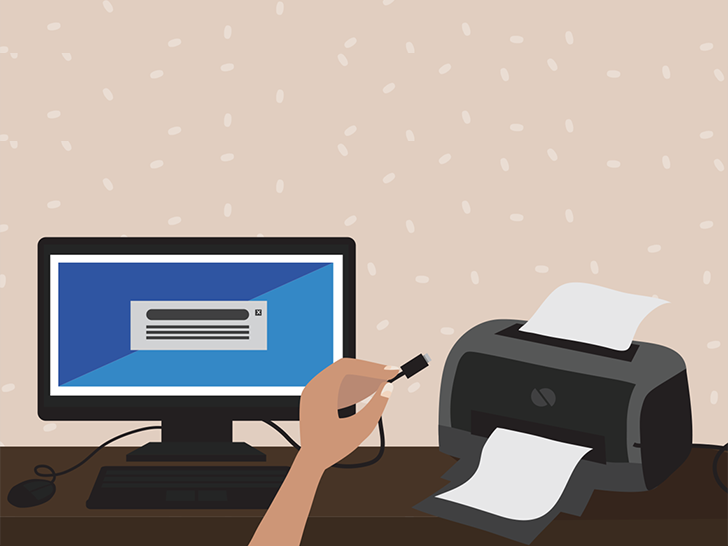
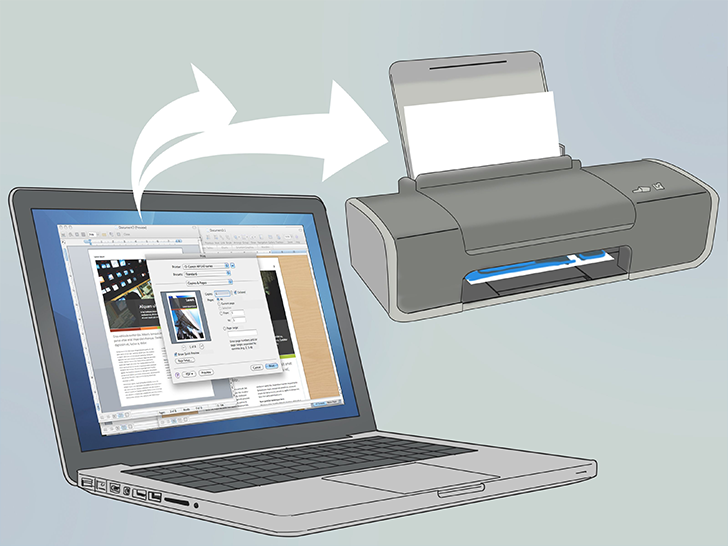
- Download the drivers for your printer from 123.hp.com and follow the provided instructions. Ensure the printer is positioned close enough to your computer so the cable can connect without tangling.
- Connect your printer to a power source and use a USB cable to plug it into your computer, ensuring the computer is powered on and unlocked. In some cases, the printer may automatically set up and install the necessary drivers for immediate use.
- Click the Start button in the bottom-left corner of your screen, select Settings, and choose Devices. From the left panel, select Printers and Scanners, then click Add a printer or scanner. If your printer’s name appears, click Add device. If it doesn’t, select The printer that I want isn’t listed and follow the on-screen instructions.
- Follow the on-screen instructions to complete the setup. If prompted, insert the CD that came with the printer or download the required software from the manufacturer’s website if the CD is unavailable.
METHOD 2: WIRED CONNECTION (Mac)
- Ensure your Mac is up to date by installing the latest drivers and updates from 123 hp printer setup before connecting a printer.
- Place the printer close to your computer so the cable can reach without tangling.
- Turn on the printer by pressing the power button, ensuring it is connected to a power source.
- Connect the printer to your computer using a USB cable. If your Mac does not have a USB port, use a USB-C to USB adapter. Ensure your computer is powered on and logged in.
- Follow the onscreen instructions to complete the installation. If prompted, click "Download & Install" to finalize the process. Once complete, your printer will be ready for use on your Mac.
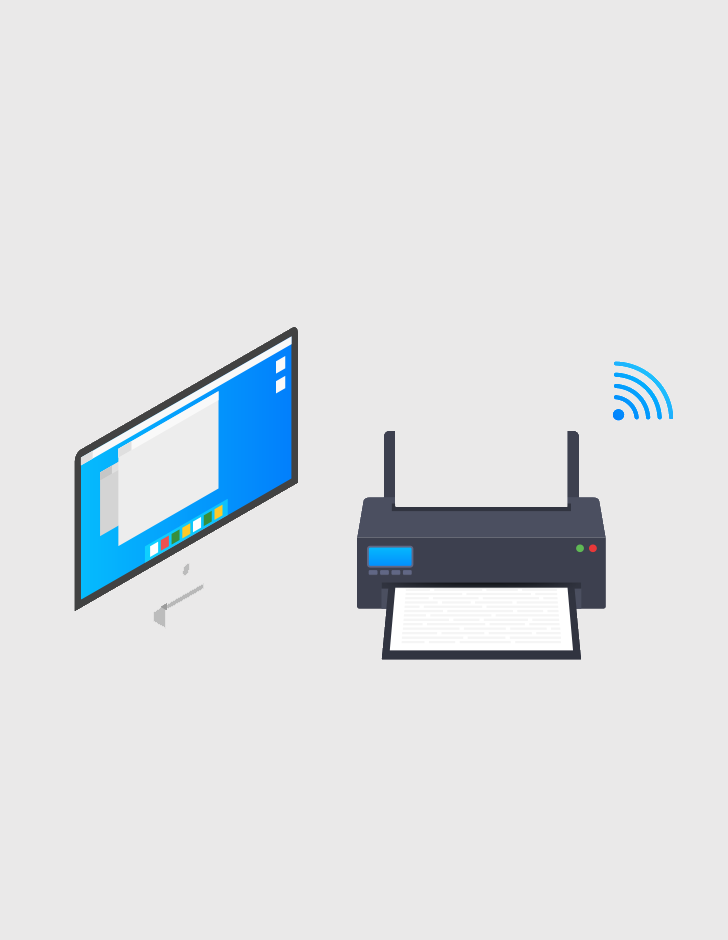
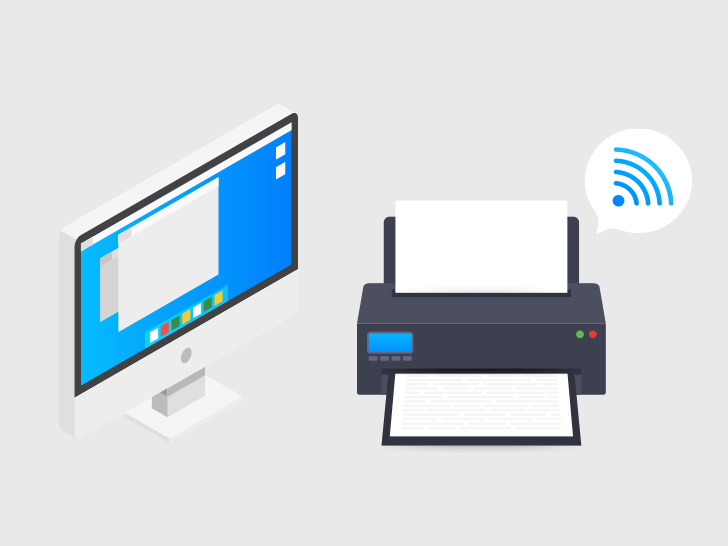
METHOD 3: WIRELESS CONNECTION (WINDOWS)
- Examine your printer’s network connections. If it uses Bluetooth instead of Wi-Fi, the setup process will differ. Some Wi-Fi printers may require a direct Ethernet connection to a wireless router to receive an Internet signal.
- Ensure your computer is placed in an area where it can receive a strong wireless signal. The printer should not be too far from the router to maintain connectivity.
- Turn on the printer by pressing the power button and ensuring it is connected to a power source. If needed, connect the printer’s Ethernet cable to the router.
- Consult the printer's documentation for specific network configuration instructions. Manuals are typically available on the manufacturer’s support website. Some printers require a direct connection to a computer for wireless setup, while others allow configuration directly on the printer.
- Follow these steps to connect the printer to your computer:
- Wi-Fi: Use the printer’s screen to access the Wi-Fi setup page and enter your network password. Ensure it matches the network your computer is on.
- Bluetooth: Press the "Pair" button, often marked with a Bluetooth “B” symbol.
- To configure the printer on a Windows computer:
- Click the Start button and select Settings.
- Choose Devices and then select either Printers & Scanners or Bluetooth & Other Devices, based on the connection type.
- Click Add a printer or scanner for Wi-Fi printers or Add a Bluetooth or other device for Bluetooth printers.
- If your printer’s name appears on the page, it is already connected. For Bluetooth, enable it on your computer if needed by clicking the Bluetooth switch.
- Connect your printer to your computer by selecting its name in the Add window. For Bluetooth printers, click Connect after selecting the printer. If prompted, press the printer’s “Pair” button again to complete the connection.
METHOD 4: WIRELESS CONNECTION (Mac)
- Examine your printer’s network connections. If the printer uses Bluetooth instead of Wi-Fi, the setup process will differ. Some Wi-Fi printers require a direct Ethernet connection to the router to receive an Internet signal.
- Place your computer in an area with a strong wireless signal. Ensure the printer is close enough to the router for a stable connection.
- Turn on the printer by pressing the power button, and ensure it is connected to a power source. If required, connect the printer’s Ethernet cable to the router.
- Refer to your printer's documentation for detailed configuration instructions. Manuals can be found on the manufacturer’s support site if needed. For wireless setups:
- If your printer supports Wi-Fi, search for your network using the printer's interface and enter the network’s password.
- If the printer uses Bluetooth, press the “Pair” button, marked with a Bluetooth "B" symbol, to initiate pairing.
- Connect your printer to your Mac:
- Click the Apple icon in the top-left corner of the screen and select System Preferences from the drop-down menu.
- In the System Preferences window, select Printers & Scanners.
- Click the Plus (+) button in the bottom-left corner of the window. If your printer is already connected to the network, its name should appear in the list.
- Select your printer’s name. Once setup is complete, the printer’s name will appear in the left-hand pane, confirming the connection. If you don’t see the printer’s name:
- Ensure your Mac and printer are on the same network.
- For Bluetooth printers, you may need to press the “Pair” button on the printer again to complete the connection.
METHOD 5: ADD PRINTER TO WIRELESS NETWORK
- Install the printer on the primary computer using either a wired or wireless connection.
- On the primary Windows computer:
- Click the Start button and open Settings.
- Navigate to Network & Internet, and then select Status from the menu on the left.
- Click Sharing options under "Change your network settings."
- Under the Private section, select the option to Turn on file and printer sharing.
- Ensure the primary computer remains powered on to allow other computers on the network to access the shared printer.
- To connect other Windows computers on the network to the shared printer, ensure they are on the same network as the primary computer.
- If using Mac computers to connect to the shared printer:
- Open System Preferences from the Apple menu.
- Select Print & Scan.
- Click the + button at the bottom of the printer list.
- In the new window, select the Windows tab and choose the printer’s name from the list.
- Ensure the primary computer remains on for the shared printer to function.
Testimonials
Sarah T.
"I had issues setting up my new printer, and the step-by-step instructions provided by Fast Derma Solutions made it an effortless process. Their guides are clear, easy to follow, and saved me a lot of frustration. Highly recommend it for anyone struggling with their devices!"
John R.
"I was facing recurring connectivity problems with my Wi-Fi extender and didn’t know where to start. Fast Derma Solutions provided accurate and concise troubleshooting tips that worked like a charm. It’s my go-to site for all smart device needs."
Priya M.
"As a tech novice, I found the information on Fast Derma Solutions incredibly helpful. The instructions are straightforward and include everything you need to know without unnecessary jargon. My Alexa device now works perfectly thanks to their guide."
Mark L.
"When I couldn't pair my Arlo camera to my network, I stumbled upon Fast Derma Solutions and found an excellent guide. The solutions were simple yet effective, and I had my camera up and running in no time. Thank you for such dependable resources!"